
Say hello to the easiest sourdough recipe you will find. Over the space of 4 days we are creating just enough sourdough starter to make one loaf. Single use starter, not a new pet for you to keep.
The challenge here is knowing that your starter will work. Check daily for bubbles. Consider using the float test by putting a small amount of the starter in water and seeing if it floats, or simply just taste it in the last two days. It should taste sour and hopefully fizzy. Look after the starter from the start by keeping it at a good ambient temperature.
Time: 5 days
Difficulty: Take your time
500g of Strong White Bread Flour plus 2 tablespoons
120g of Wholemeal Flour
8g of Salt
460ml of Water
3 tablespoons of Ground Rice
Day 1
1. In a jar mix together 60g of bread flour with 60ml of water and leave uncovered.
Day 2
1. Add a further 40g of bread flour and 40ml of water. Leave uncovered.
Day 3
1. Repeat step from day 2.
Day 4
1. Add at least 160g of the starter you have made to a large bowl (add more if you have extra). Add 320ml of water and the wholemeal flour. Mix well. Leave for one hour.
2. Mix together the 360g of bread flour and the salt. Then add to the Wholemeal flour mixture and mix together to form the dough. Add a little extra water if needed to bring together.
3. Loosely cover and place in a fridge overnight to cold prove the dough.
Day 5
1. Remove the dough from the fridge an hour before baking to bring it back to room temperature.
2. Preheat the oven to either 250 degrees Celsius for a classic sourdough crust or 220 degrees if you prefer a softer crust. Take a lidded cast iron pot or a large lidded pot and preheat in the oven.
3. After the dough has came up to room temperate and the pot has been in the oven for at least 15 minutes remove the pot very carefully. Cover the bottom of the pot with the ground rice and carefully drop the dough into the pot.
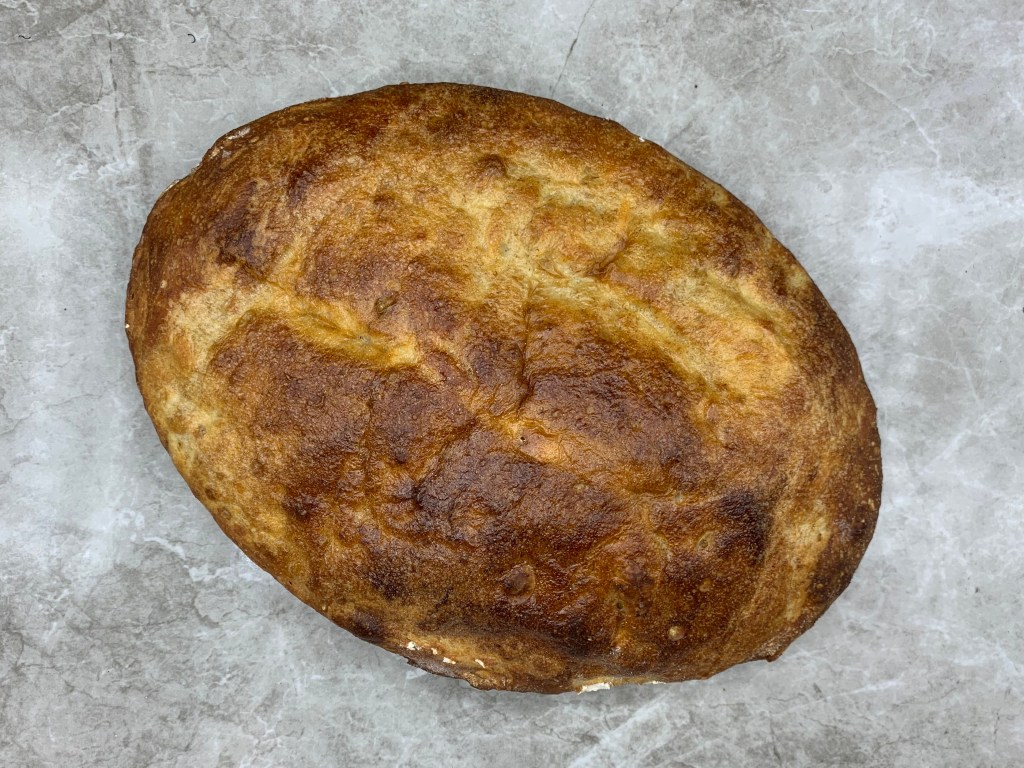
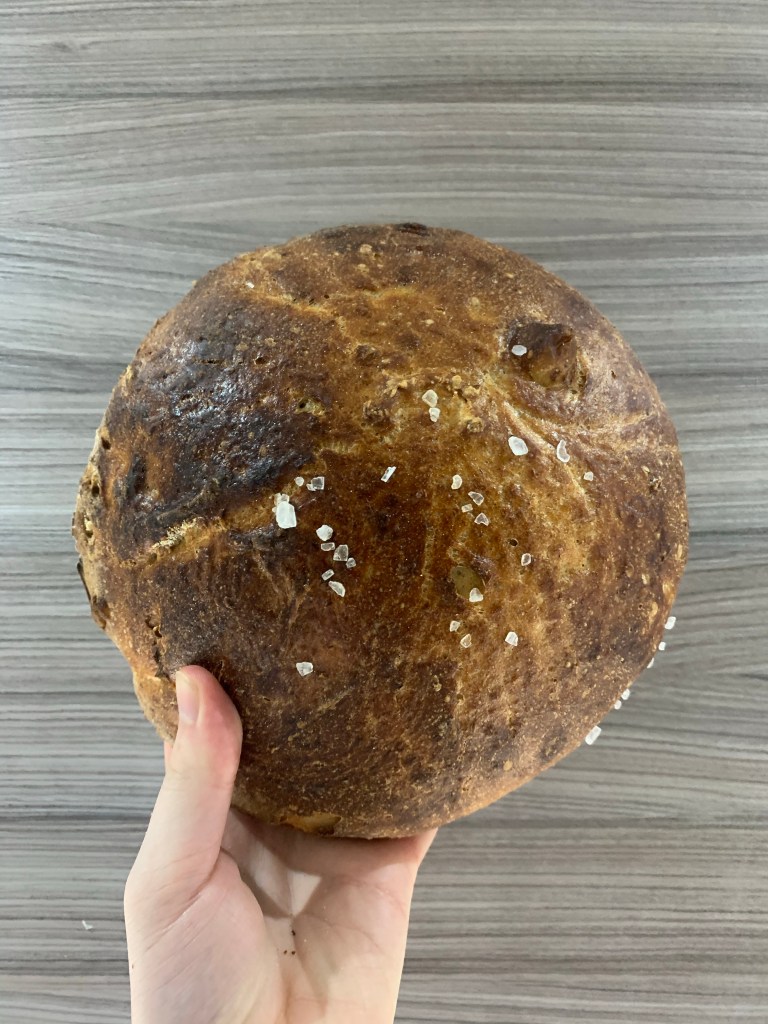
4. Dust on top with 2 tablespoons of bread flour and spray with water till glossy on top. If you want take a razor blade or very sharp knife and make a straight line down the bread or add a different pattern to give a design. Put the lid on the pot and return to the oven for 25 minutes.
5. After 25 minutes remove the lid and continue baking for 25 minutes. If cooking at 220 degrees bake for an extra 5 minutes.
6. Remove from the oven when able run a knife around the outside of the pot to loosen the bread.
7. Pop the bread out of the pot and allow to cool before slicing.
